
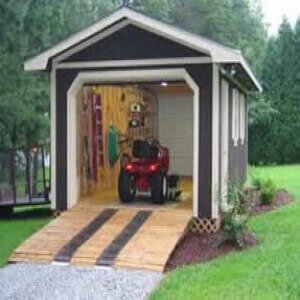
Storage Shed 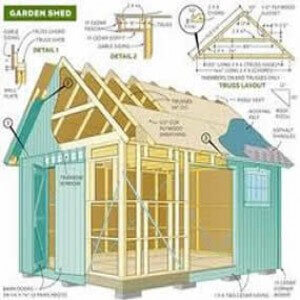
Garden Shed 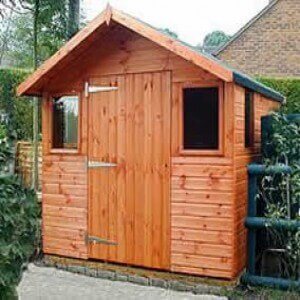
Shed Cabin 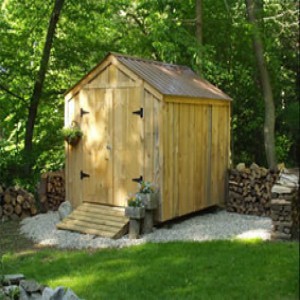
Tool Shed Plans
For assuring perfection in any task, it is better to do it yourself. This common expression stands perfect when you are looking forward to have a structure in your backyard for storing the garden tools or as shelter for domestic animals or simply as a workshop or personal use. This single floor covered structure is termed as shed and the other popular names for this are outbuilding, outhouse etc. The variation in sizes of shed depends on the intended purpose. This is the reason why size of storage sheds is small while the farm and industrial sheds are large in size based on the goods volume that will be stored in them.
Different materials like metals, wood and plastic are used for making sheds while their construction type includes plastic sheathing, metal sheathing etc.
If you are also looking forward to build a shed and are searching for best shed building plans then we are here with this guide to help you in the process. You will find several ways to build a shed, different shed building plans etc. in this beginners guide.
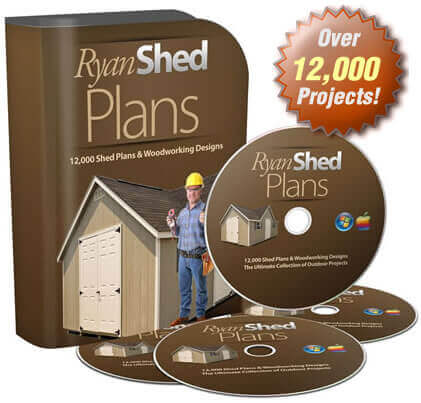
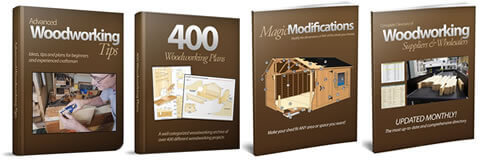
Before starting it, let me show you about these cool shed plans by Ryan. With these plans you will get some free bonus like:
- Advance Woodworking Tips: Ideas, plans and tips for beginners & experienced craftsmen.
- Magic Modification E-book: It will teach you how to modify dimensions of any shed of your own choice.
- 400 Free Woodworking Plans: Almost every project covered with clear diagrams & step by step instructions in detail.
- Directory Of Suppliers: You will get a complete directory of woodworking suppliers and wholesalers which is updated every month.
Different shed building plans:
1. Tiny Domestic sheds:
Tiny Domestic sheds are the cheapest and simplest sheds that could be assembled easily by regular people even when they do not have primary construction knowledge. Wooden and plastic sheds are the most popular forms of these sheds that are best for storing tractors, garden tools, agricultural chemicals and gasoline that are not safe to store indoor.
2. Huge domestic sheds:
In comparison to the small domestic sheds, these are more expensive and their working space is also large. Some people also use them as outdoor offices that could be customized with addition of benches, ventilation system, lighting etc.
Lumbering:
Whether the wood is untreated or treated, it is prone to decomposition when exposed to exterior elements. This makes it important to follow the fundamentals for preserving exterior wood.
Quality of wood:
Being a structure in outdoors, the shed encounters different weather elements including rain, sunshine, wind, snow and other factors like moulds and insects. For this reason, it is important to select the wood that can resist fading, deforming, dampness and pets. You can go for heartwood since it can resist unkind conditions. The wood species recommended for shed building plans are Cyprus, Cedar and Redwood. Thoroughly check the wood before buying it to make sure that is well processed.
To avoid shrinkage after you buy the wood, be careful of wet wood. The universal form of outdoor wood is one that is pressure treated and comprise of fir and pine.
Staining:
It is of two types: natural and unnatural. In the former case, purpose of stains is enhancing wood beauty while the latter include activities such as painting wood. Frequent maintenance is needed in natural since they last for 2 years while unnatural and endure for 8 years without any maintenance.
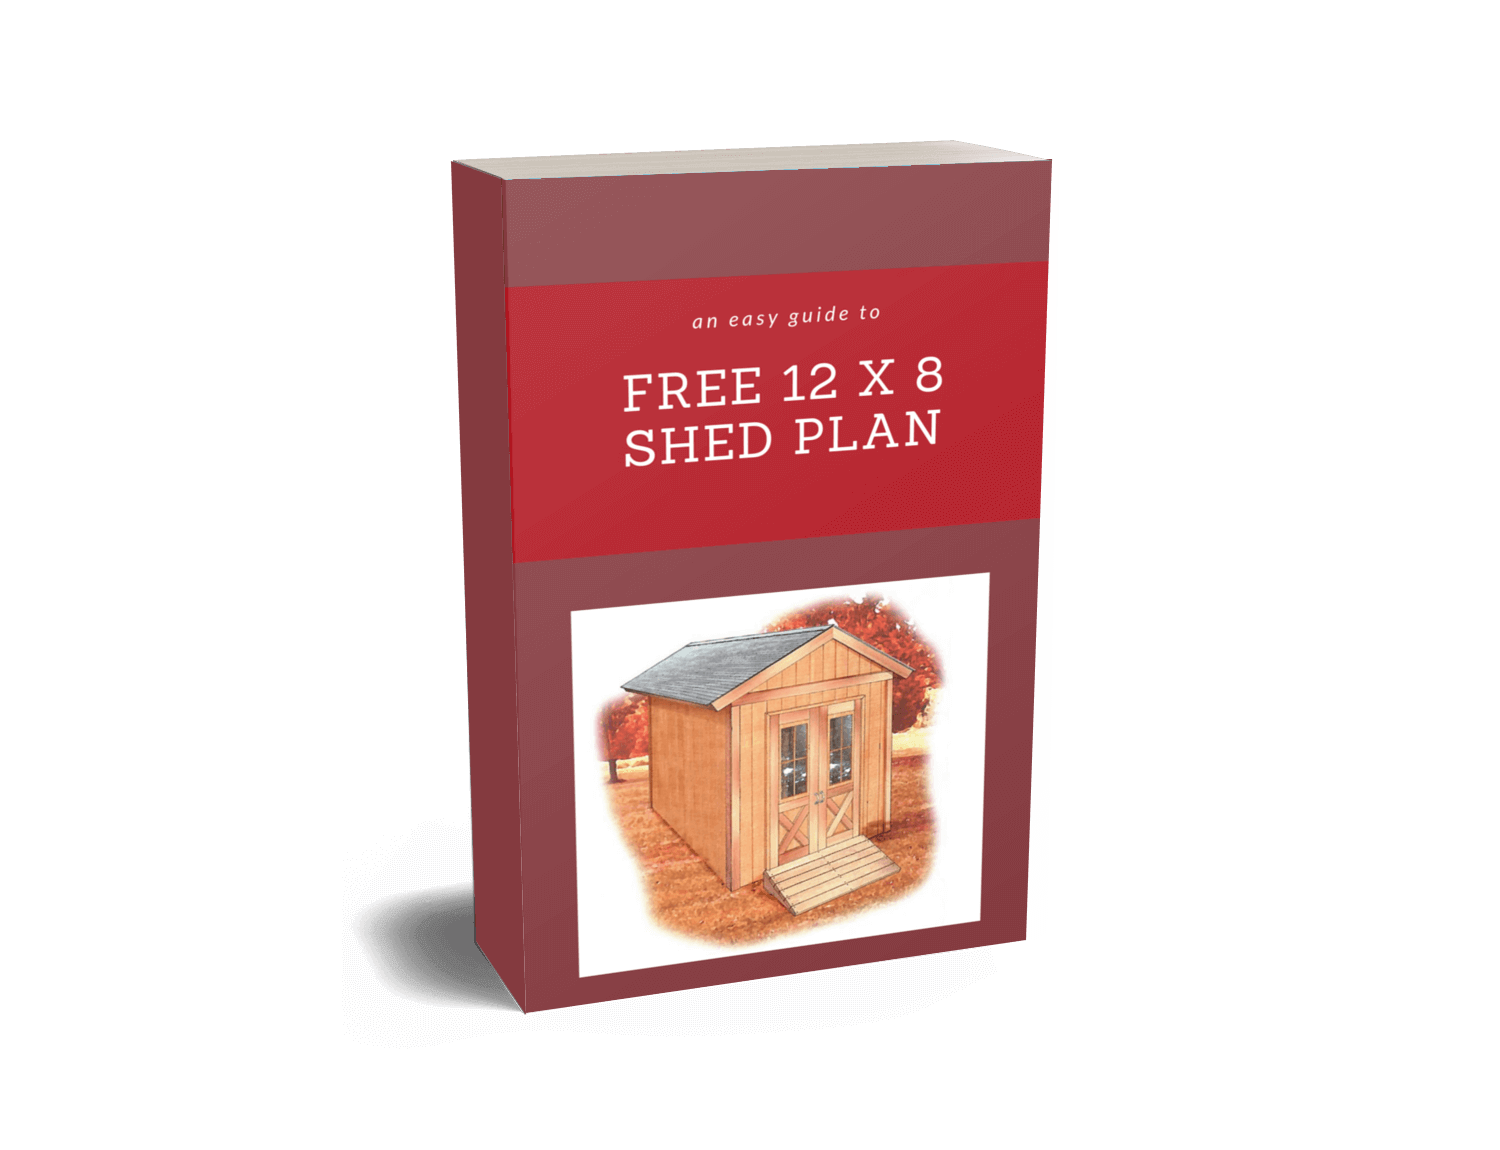
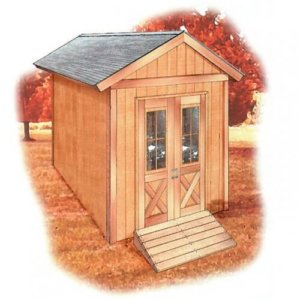
Get Your Free 12 x 8 Shed Plans With Blueprints, Illustrations, & Step-By-Step Details Just By Subscribing To The Newletter Below:
Simple steps to build a shed:
1st step:
Floor frame:
Sunken pillar, concrete slab and wood skid are the three common forms of shed foundation.
Excavate the construction site for adding a 4 in layer of suited gravel and thoroughly pack it for ensuring proper leveling. To avoid the issue of water clogging, try to find peak point of garden for building the shed.
At 144 in., cut 3 four by four pressure treated skids of timber, level and arrange them on gravel bed.
Level and set all the 4 skids to make sure that each side is staked for support after it is built.
On top of these skids, place the floor frame and for assuring that it is square in shape all you need to do is to measure the diagonals. Then install the metal clip at each joist next to the exterior slips with the help of 16d galv. common nails and joist hanger nails of 11/2 in. Make use of 16d galv. nails to toenail joist with center skid.
For sheathing purpose, install the groove and tongue beginning at the frame corner with full sheet. Use angles for securing joists to the outer skids. Raise and frame the walls and at corner studs and fasten together the adjacent walls.
2nd step:
Useful tools:
The tools that you will need to efficiently complete this task are:
- Work gloves for protecting hands from small objects that might hurt
- Electric drill with multiple attachments
- Claw hammer for driving nail in wood and removing unwanted nails
- Pencil of carpenter for marking wood with significant measurements
- Jab saw for cutting small unwanted objects present in the building material
- Group of fasteners including screws and nails
- C clamps to tightly fasten objects for preventing separation
- Measuring tape
- A level
3rd step:
Shed building plans:
After preparing the concrete, join sole plates together with anchor plates that are protruding out from foundation. Make use of measuring tape and carpenter’s pencil to mark points for placing studs with proper measurement. Make sure to utilize a different color marker for marking the meeting point of mudsill and anchor. Place the studs at marked points and drive galvanized nails through marked areas till they reach bottom of stud. Then place them across opposite end at top plate and secure with the help of screws and nails.
4th step:
In this step, set the walls on anchor bolts. Check alignment of walls using Pythagoras theorem since you are already having measurements. Double check everything to ensure that all things are as per plan. After being double sure, secure the anchor bolts using nuts and washers. In case any space is left in corners, use fillers to fill it for ensuring safety. Enhance structure stability with the help of extra measured boards to double top plates. With this, the structure will be able to properly withstand roof pressure after installation.
5th step:
Roof framing:
Being a beginner, you should go for simple structure of roof for avoiding frustrations of complex structures. They are time consuming and demand great skills as well. For plain roof structure, simple rafters will serve the purpose. Take same size and length boards and place them at approximately 12-15 inches intervals along with the top plate’s length. It is recommended that you use rafter of smaller size in comparison to ridge board. As per your demand, you can have either gentle or steep roof slope. However, do not forget that it is a bit complex to work on steeper slope but it helps in enhancing shed volume. This is the reason why it is commonly found in several free garden shed plans.
For ensuring better compatibility of roof frame with remaining structure, cut the common rafters to ensure that it congregates the ridge board. Cut the rafters perpendicularly to ensure their smooth fit into each other.
6th step:
Finishing the roof:
Take first two rafters and secure them with the help of screw or nail to ridge board’s first end. Repeat this process with its opposite end as well. Ensure smooth running of the process and mount the remaining rafters in the positions encoded for them. After mounting all the rafters, have a look at the overall progress of completed work so far.
7th step:
Installation of the doors:
Once your intended remarkable structure is complete, proceed towards next step that is door preparation. Getting a door from nearest seller is the easiest possible way for door mounting. However, the problem is that, the seller will have doors that are of fixed sizes only. The fit of these doors might not be in accordance to the door size that you have set in your frame. So make sure to make proper measurements on door frame if you are planning to buy the door. Remember that door mounting will make the overall frame of shed to dispose of one of the columns of support and this can be unsafe. For balancing this aspect, you can go for a door having strong header so that it can easily support the heavyweight.
Note: It is suggested that you go for the door frame that is about half an inch bigger in comparison to the door so as to assure easy fitting. With this, you will also be able to give a room in the shed for fresh airflow.
These are the basic steps that help to complete your structure. Modifications are possible for shed interiors as per the way in which you use it. You can also add shelves in it by mounting them on structure of the walls. When you build a shed, its storage capacity is also enhanced with the addition of shelves.
Also, it is important to add your shed with lighting system so that you can use it without any hassle even when it is dark outside. You can also consider the free garden shed plans for better ideas. So follow these simple steps of shed building plans for a desired structure in your backyard.
Do You Want To Build These Beautiful Sheds?
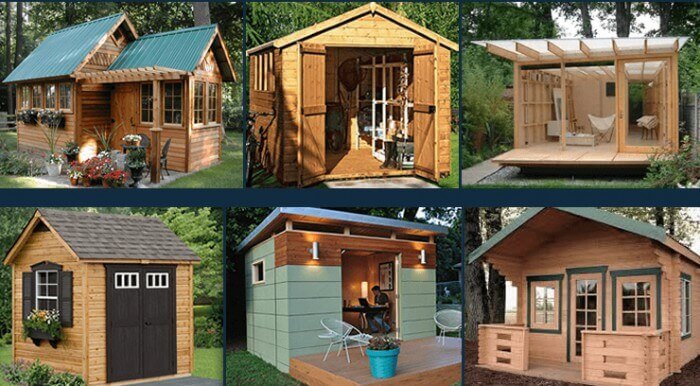
If Yes, then Check Ryan’s 12,000 Shed Plans
“ There are some ready-made storage sheds available on Amazon, which you can directly assemble in your yard. Let’s see the 15 top-rated storage sheds along with their features ”
The Storage Sheds Available On Amazon:
No products found.
Here are some helpful videos for you:
- How to assemble the Lifetime Storage Shed –
- How to assemble the Suncast Storage Shed –
https://www.youtube.com/watch?v=-rQV9sPI6e8
If you are reading this article then you may also like article on some power tools and garden tools like chainsaw, miter saw, jigsaw, scroll saw, wood router, router table, & weed eater. and to store it I have an article on awesome tool bags.
I have written articles on these topics in more than 7000 words. Check it out if you are interested.
Hope, you have liked this mini article. Don’t forget to signup for the newsletter to get your free 12 x 8 shed plan ebook. Also, don’t forget to check Ryans’ 12000 awesome shed plans.
Thanks For Reading,
Cheers!